This post may contain affiliate links. For more information, please see our Disclosure Policy.
Creating a gallery wall has been on my to do list ever since we moved into our home four years ago, but it took my forever to get around to it. To be honest, the whole thing completely intimidated me.
We have high ceilings in our family room (probably around 20 feet tall at its peak) and a large blank space on the wall behind our couch. That wall was empty for three or so years, which was really depressing. Our home still wasn’t feeling like ours, and I missed seeing family photos on display so I knew I had to get over my fear of making a mistake and just hang some pictures. It’s only drywall after all. Worst case scenario we’d patch holes and start again… which we did.
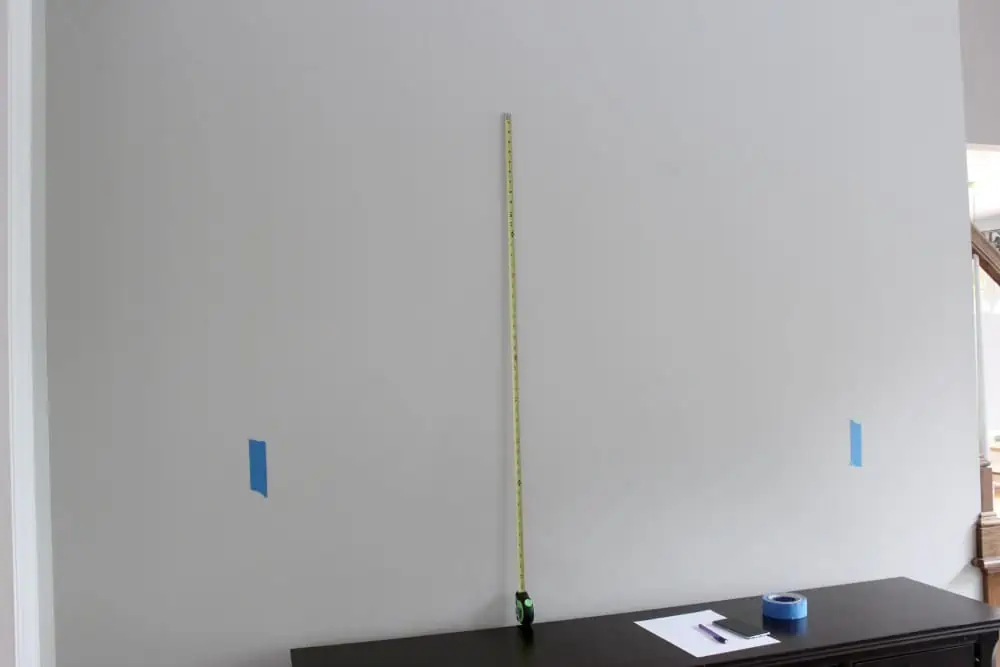
1) Measure
The first thing I did was measure the space I had to work with. This wall is very tall so I knew I’d be hanging some frames above eye level to create a balanced look and feel for the room.
The bookshelf behind our couch isn’t perfectly centered on the wall because we usually tuck a little rolling table my husband uses in the evenings to the side of it. I knew I wanted the frames centered according to the wall and not the bookshelf because otherwise we would’ve been left with an awkward and empty space on the left side of the wall (so ignore that blue tape). 😉
2) Play with the Layout
I then measured out the same amount of space on my dining room table.
The first time I tried to do this I used the floor, but I couldn’t make up my mind where I wanted things, and walking around a bunch of frames and glass with wild toddlers in the house wasn’t something we could do while I took forever to make up my mind. Thankfully, our dining room table was just big enough to serve as a temporary layout space. (Look! It’s a sneak peek of the dining room I worked on last year and still haven’t shared yet! Why does it take me foorrreeevver to do things?!)
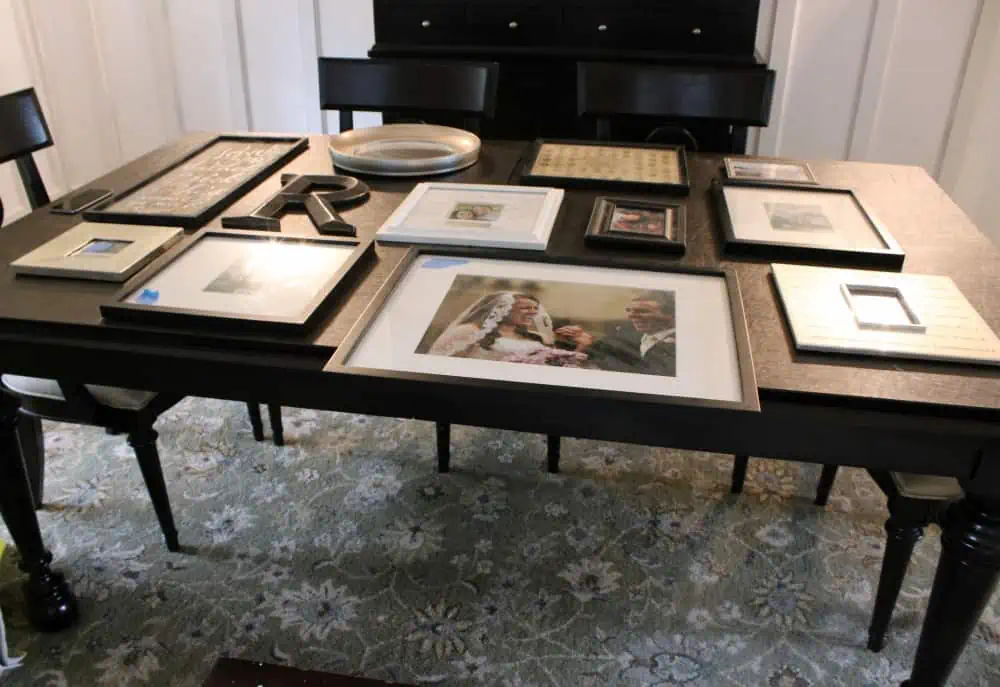
I gathered the frames I wanted to use and started playing with exactly how I wanted things to be laid out.
The first time I did a gallery wall it felt really heavy on the bottom, and I couldn’t figure out why. My sweet friend Maria came over to visit one day, and pointed out that I’d hung some of my largest pieces in the lowest row of frames. Duh! I don’t know why I couldn’t see it myself, but I realized I was doing the same thing when I started laying out these frames. I was happy I was just playing with the layout on the table and not having to repair a bunch of nail holes. Been there, done that already.
Tip: If you use a table to layout your frames, try using a ladder or chair to stand above your layout and get some distance from your design. This really helped me get a sense of what it would look like on my wall because I could see all of the frames together straight on instead of at a weird angle.
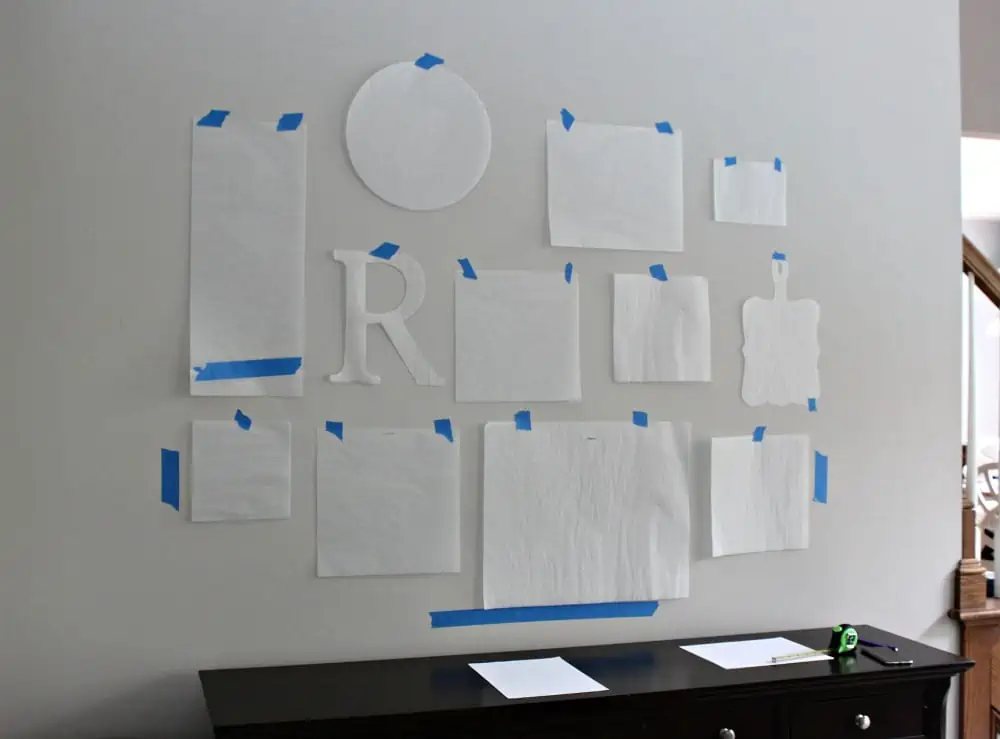
3) Trace the Frames
Next, I traced all of my frames and where the nails needed to go with tracing paper…
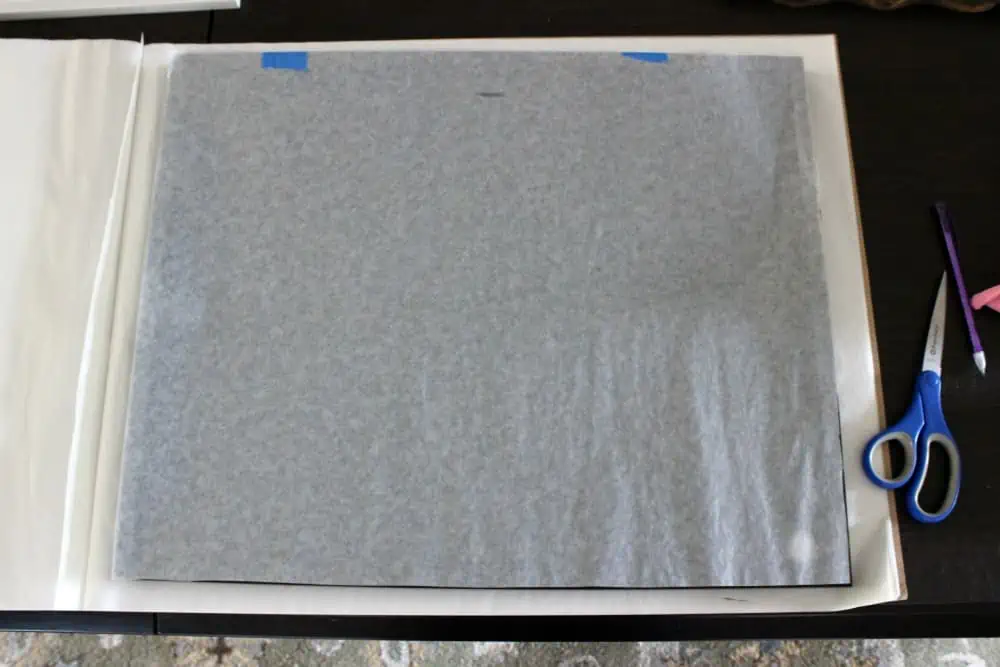
and taped them in the space to see how I liked the layout I designed.
Newsflash, I didn’t! haha As far as design goes, I can be rather indecisive. Does anyone else struggle with fearing to make a design mistake. One on hand, I feel silly even saying that because I’m not doing anything huge here. Design mistakes can (usually) be pretty easily undone, but I still feel paralyzed sometimes. Ugh.
Once the layout was on the wall I realized I was, once again, hanging large pieces at the bottom of the collection so I reworked the design.
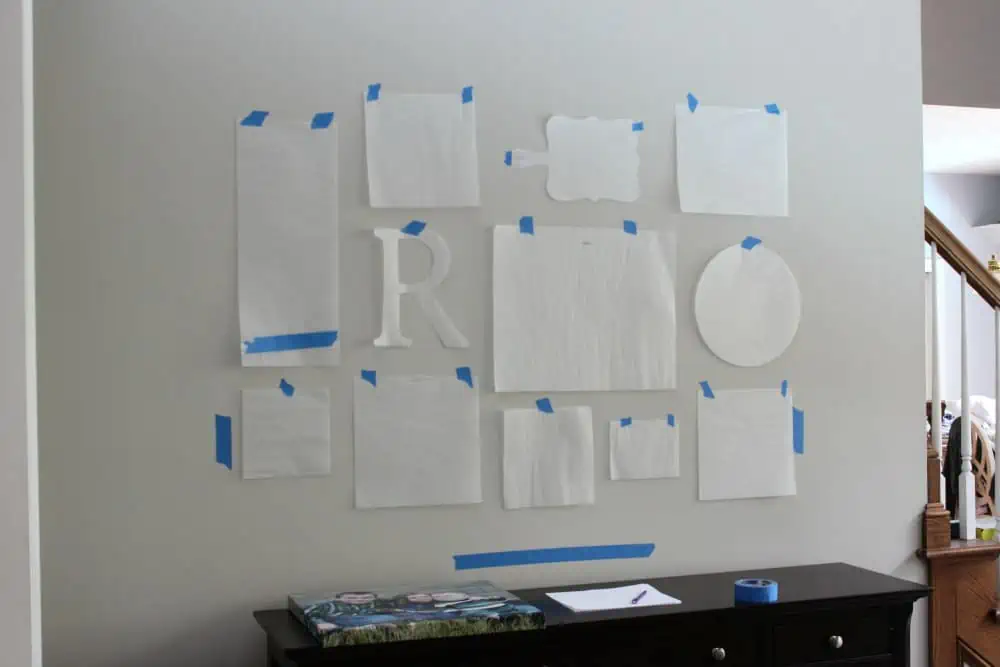
This layout is very close to what I ended up settling on.
4) Start Hanging
Once I was happy with where things were placed, I started putting nails in the wall. This was really easy since the nail holes were all already marked on my tracing paper outlines. I then hung my pieces, and voila! Here’s the (almost) finished product.
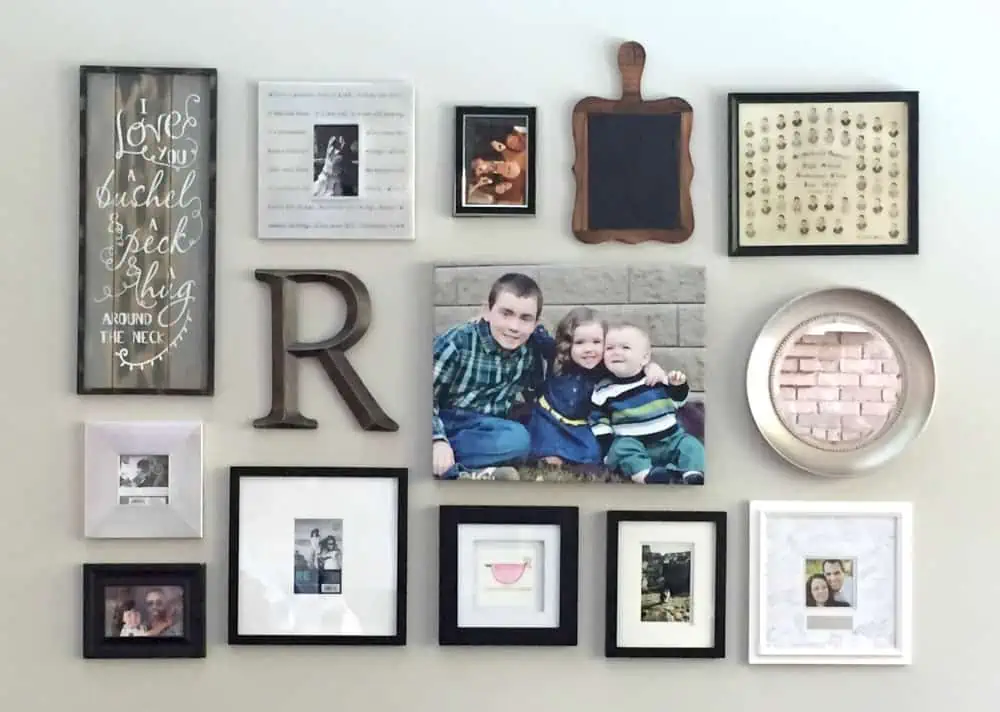
Yay!!
Okay, so you may be wondering why I said, “almost finished.” I hate to point these things out, but if you look closely enough you’ll see a couple frames are empty (or as I like to say, filled with our stock photo friends) and one picture is even sideways! That’s not me trying to be artistic or cutting edge. I just need to find a new picture to fit that frame.
I’m also hoping to add cute, seasonal sayings throughout the year to the little chalkboard, and possibly even replace a frame or two.
The bottom of row of frames also bug me a little bit since they’re all rectangles and not hung in a straight line, AND there are a lot of different kinds of frames here (silver, black, white, wood, and canvas), which I’m also not sure about yet, but I’m just focusing on progress not perfection. Seriously, it took me three years to get to this point so I’m trying to tell myself to celebrate small victories instead of nitpicking! (Too late?)
While it might not yet be perfect, it is a huge improvement over the nothingness we had there before. I love seeing familiar faces smiling back at me instead of a big, blank wall. It really makes me happy every time I look at it, and it’s helping our house actually feel like our home.
Have you ever hung a gallery wall or been paralyzed by a design decision? I’d love to hear about it and know I’m not alone.
Have a great weekend, friends!


I never thought about tracing and hanging mockups of the frames. That’s brilliant! I’m terrible—I just eyeball everything lol. But then again I’ve never done a whole wall of frames. Taking that extra precaution definitely would help!
This is the most methodical I’ve ever been. I usually just eyeball everything, which drives my engineer husband crazy! 🙂
I’ve had a gallery wall waiting to happen for years, too! I have ONE picture hanging, but when I went to hang the second, I dropped it an the glass broke. I lost motivation, and six months later, I still have one lame frame on the wall. You’ve inspired me to just DO it, and not worry too much about perfection. Thanks!
Oh no! That’s so something that would happen to me. I finally start doing a long-awaited project and break something. I’m glad to hear you’re going to give it another go. Please let me know when it’s done. I’d love to see pictures! 🙂
My daughter was just talking about making a gallery wall, so this is perfect! Thanks for sharing!
You’re so welcome! Thanks for reading, and good luck with your gallery wall 🙂
This is such a great resource! We have a picture wall of sorts but I’m dying to make a more traditional gallery walL!
I’m so happy ours is finally up. I just wish I hadn’t waited so long! Good luck creating yours. I’d love to see it when you’re finished.
We just redid my mom’s gallery wall. We use Command Strips, so easy, and works for most of what we did. I usually “eyeball” everything, and since I am a perfectionist, it looks like we spent hours measuring, Etc.
Cheryl, I may or may not have a post about those glorious little contraptions in the works right now! They’re awesome 🙂
This is needed information.
We all need help with gallery walls.
Thank you for sharing this at Thoughts of Home. We are so glad you are here.
I have a blank wall in my living room that is the focal point right when you walk into my house, and it’s been like that for 2 years, since we’ve moved in. I have been wanting to do a gallery wall, but like you, I feel paralyzed. It really is depressing every time I walk into that room. I know it will add so much to the room, I bug myself that I just don’t do it. I’m just super intimidated. So thanks for the tips, it’s good to know that I’m not alone. I have always felt weird with my insecurities!
You’re definitely not alone! A big blank wall can be surprisingly intimidating. You’ve just reminded me that I need to update this post with the best hangers to use because there’s one option that’s far superior (for me at least) and a lot less work. I’ll have to work on that this week. Thanks for the reminder and good luck with your gallery wall. I’d love to see some pictures when you’re finished.